Regions Help & Support
HOW TO
How to Stop Payment on a Check
Step 1
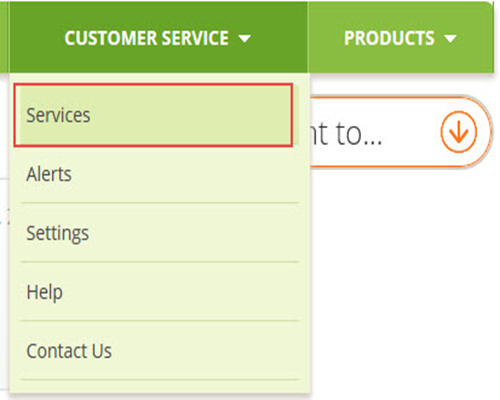
Once logged in to Online Banking, from the Customer Service menu select Services.
Step 2
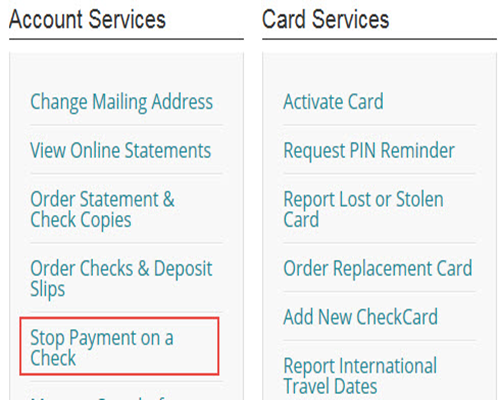
From the Account Services section, select Stop Payment on a Check.
Step 3
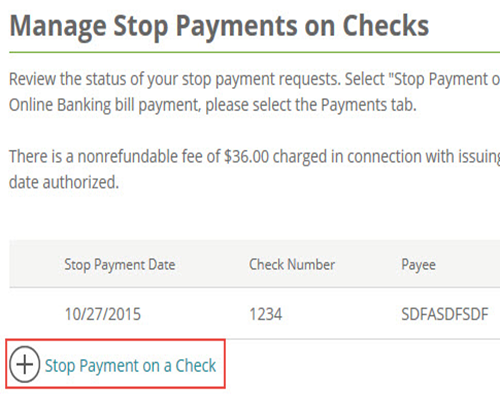
Existing stop payment orders will appear on this page. Select the plus sign above the table or Stop Payment on a Check below the table.
Step 4
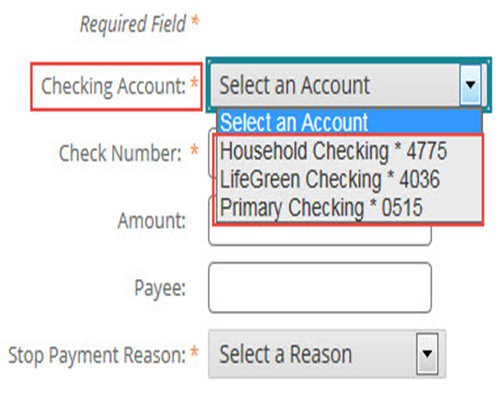
Step 4: From the Checking Account drop-down menu, select the account the check was written from.
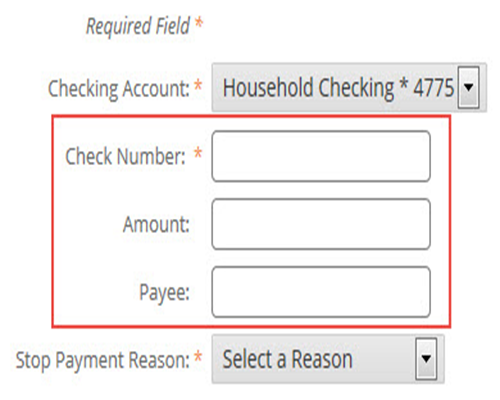
Step 5
Enter the Check Number, check Amount and Payee information. (Only check number is required.)
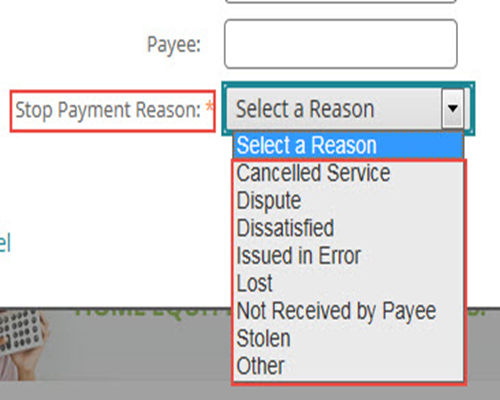
Step 6
Select the reason for your request from the drop-down menu then Continue.
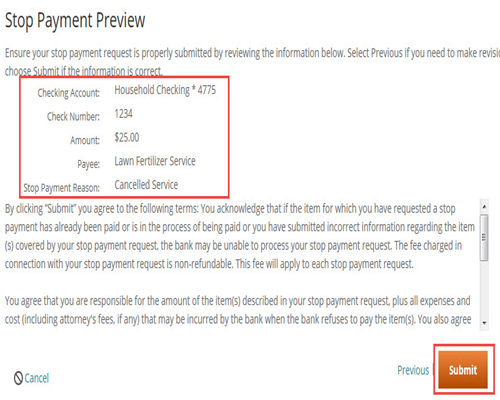
Step 7
Review the stop payment details and select Submit to complete your request.
If you need to make any changes, select Previous.
Step 8
You will receive confirmation that your stop payment was successfully submitted.
