Regions Help & Support
HOW TO
How to Nickname Your Account(s)
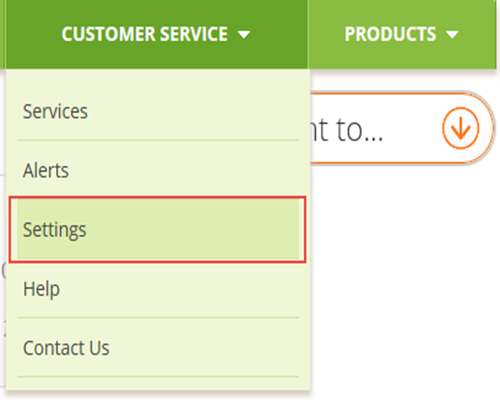
Step 1
Once logged in to Online Banking, from the Customer Service menu select Settings.
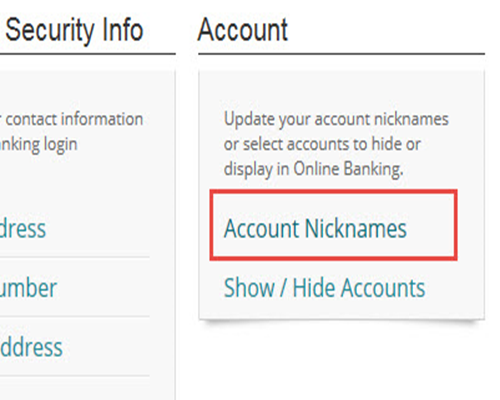
Step 2
Under the Account section, select Account Nicknames.
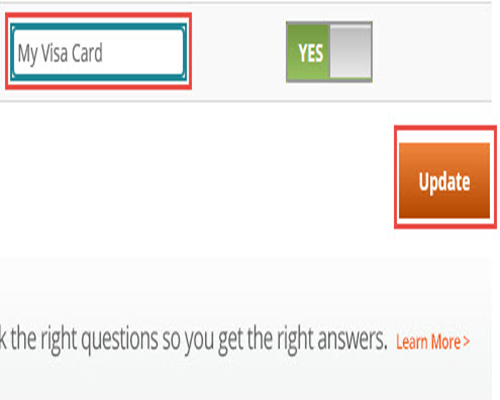
Step 3
To change the nickname, enter the desired name in the Account Nickname field then select Update.
Step 4
You will receive confirmation that your account list has been successfully updated.

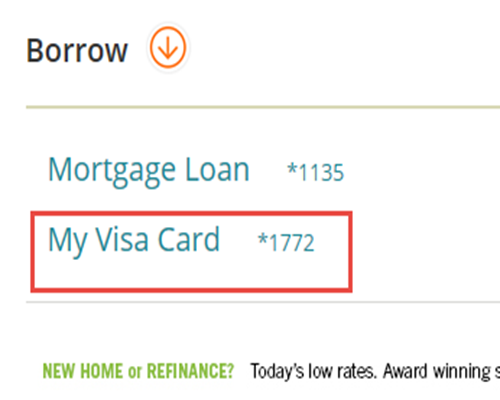
Step 5
Select Accounts to return to your account list and verify that your nickname has been applied to the designated account.